Have you ever scrolled through social media and seen those beautiful, chunky-knit blankets that look impossibly cosy and warm? You likely thought, “I could never make that.” The truth is, you can. Arm knitting is a revolutionary technique that uses your own two hands to create stunning, oversized knits in a fraction of the time it would take to use traditional knitting needles. It’s a craft that is simple, incredibly rewarding, and accessible to anyone—even if you’ve never held knitting needles in your life. This guide will walk you through the entire process, from start to finish, so you can create your very own chunky blanket in just a few hours.
The Beauty of Arm Knitting: Why It’s a Beginner’s Best Friend
Traditional knitting can be intimidating for a beginner. The small needles, the complex stitches, and the slow, methodical process can be a barrier for many. Arm knitting, however, eliminates all of those hurdles. It’s a critical new way of thinking about a very old craft. Instead of needles, you use your arms to form the stitches, which are much larger and easier to see. This means you can create an entire blanket in an afternoon, rather than over weeks or months. It’s an incredibly fast, fun, and forgiving process that allows you to see tangible progress with every row you complete. There’s no need to learn complicated patterns or worry about dropping tiny stitches; it’s all about a simple, repeatable motion that anyone can master. —
Your Essential Starter Kit: All You Need is Yarn and Your Hands
One of the best things about arm knitting is that you only need two things to get started. You don’t need to invest in a lot of expensive equipment. The focus is on the simple pleasure of working with your hands.
1. The Yarn
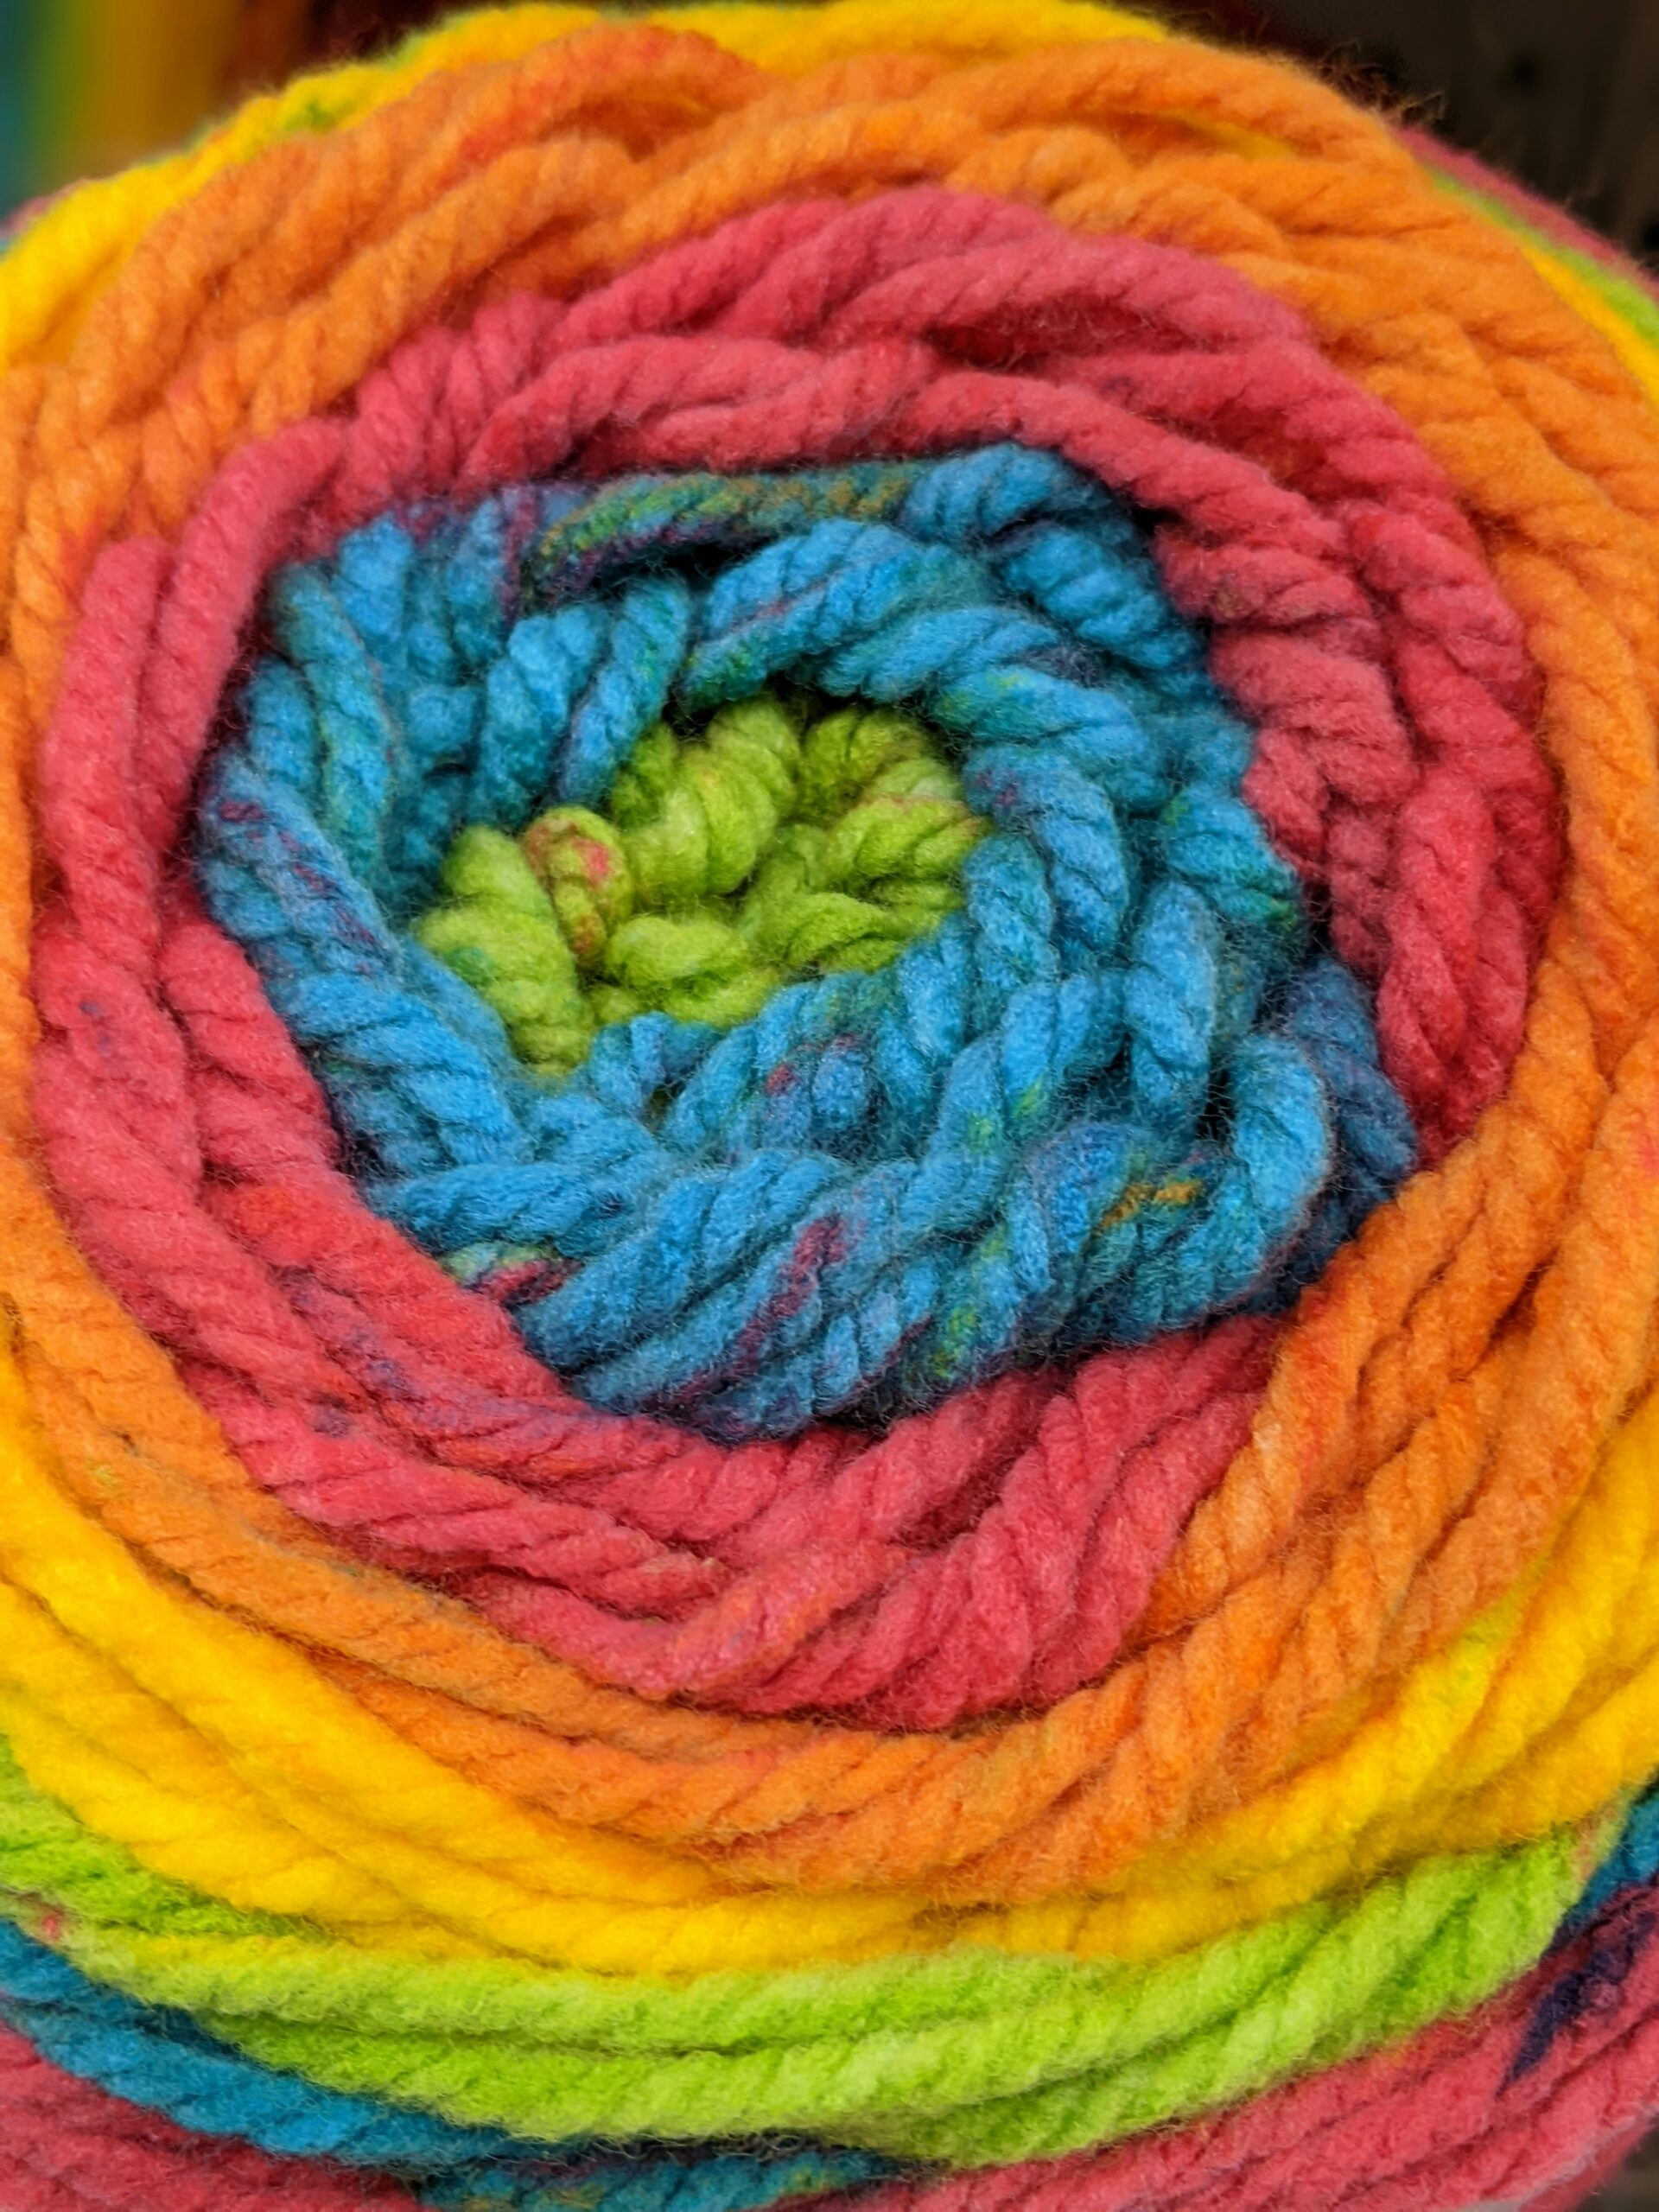
The most important part of your starter kit is the yarn. For arm knitting, you absolutely must use a super-chunky or jumbo-sized yarn. These are often labelled as “super chunky” or “giant yarn.” Merino wool is a popular choice for its luxurious, soft feel, but it can be expensive. A jumbo acrylic blend is a more affordable and durable option that is perfect for a beginner. As for how much you’ll need, a small throw blanket (around 1 metre by 1.2 metres) will require approximately 2 kg of yarn. A larger blanket will require 3 kg or more. It’s always best to have a little more than you need, just in case.
2. Your Hands (and Arms)
That’s it. Your arms will serve as your knitting needles. Your hands will be doing all the work of forming the stitches. It’s an incredibly tactile and sensory experience that feels deeply connected to the act of creating. There’s no need for any other tools at all. —
Getting Started: Your First Blanket in 5 Simple Steps
Ready to begin? Get comfortable, grab your yarn, and let’s get started. The process is a simple, five-step cycle that you will repeat until your blanket is complete.
Step 1: The Slip Knot
This is the very first stitch that will start your blanket. Create a loop with your yarn, leaving a long tail. Pull the long working end of the yarn (the end attached to the ball) through the loop to create a knot that can slide. Place this first loop onto your right arm. You’ve now created your first stitch and you’re ready to “cast on” your blanket.
Step 2: The Cast-On
Now, you’ll create your first row of stitches. Take the working end of your yarn and drape it over your thumb and index finger, creating a new loop. With your left hand, reach through the first stitch on your right arm and grab this new loop, pulling it through and onto your left arm. Pull the loop tight. You’ve just created your first cast-on stitch. Repeat this process until you have the desired number of stitches on your left arm. For a small throw, this will be around 15 stitches.
Step 3: Knitting the First Row
Now for the fun part! The basic knitting stitch. Take the working end of your yarn and hold it in your right hand. Take the first stitch on your left arm and pull the yarn through it with your right hand, creating a new loop. Slide the first stitch off your left arm and place the new loop onto your right arm. Repeat this process for all the stitches on your left arm. When you are finished, you will have a full row of new stitches on your right arm.
Step 4: Continuing Your Blanket
You’ll now repeat the process from Step 3, knitting the stitches from your right arm onto your left. You simply continue this back-and-forth process, moving the stitches from one arm to the other, until your blanket reaches the desired length. With every row, you’ll see your blanket getting bigger and bigger, which is a wonderful and encouraging feeling.
Step 5: The Cast-Off
Once your blanket is the size you want, it’s time to secure the final stitches. You’ll knit two stitches just as you normally would, so you have two loops on your arm. Then, with your hand, lift the first stitch over the second stitch and off your arm. You now have only one stitch left on your arm. Knit the next stitch and repeat the process, lifting the first stitch over the second. When you have one final stitch left, cut the yarn, leaving a long tail, and pull the tail through the final loop. This will create a secure knot. You can weave the end into the blanket later to hide it.
Arm knitting is a beautifully simple and accessible craft that allows anyone to create something stunning and functional in a single afternoon. The process is incredibly meditative and satisfying, and the final result is a beautiful, cosy blanket that will bring warmth and style to any room. It’s a wonderful way to step into the world of crafting, and you’ll be amazed by what your own two hands can create.
Comments are closed